Design Inspiration Supplies
Design Instructions
Supplies needed
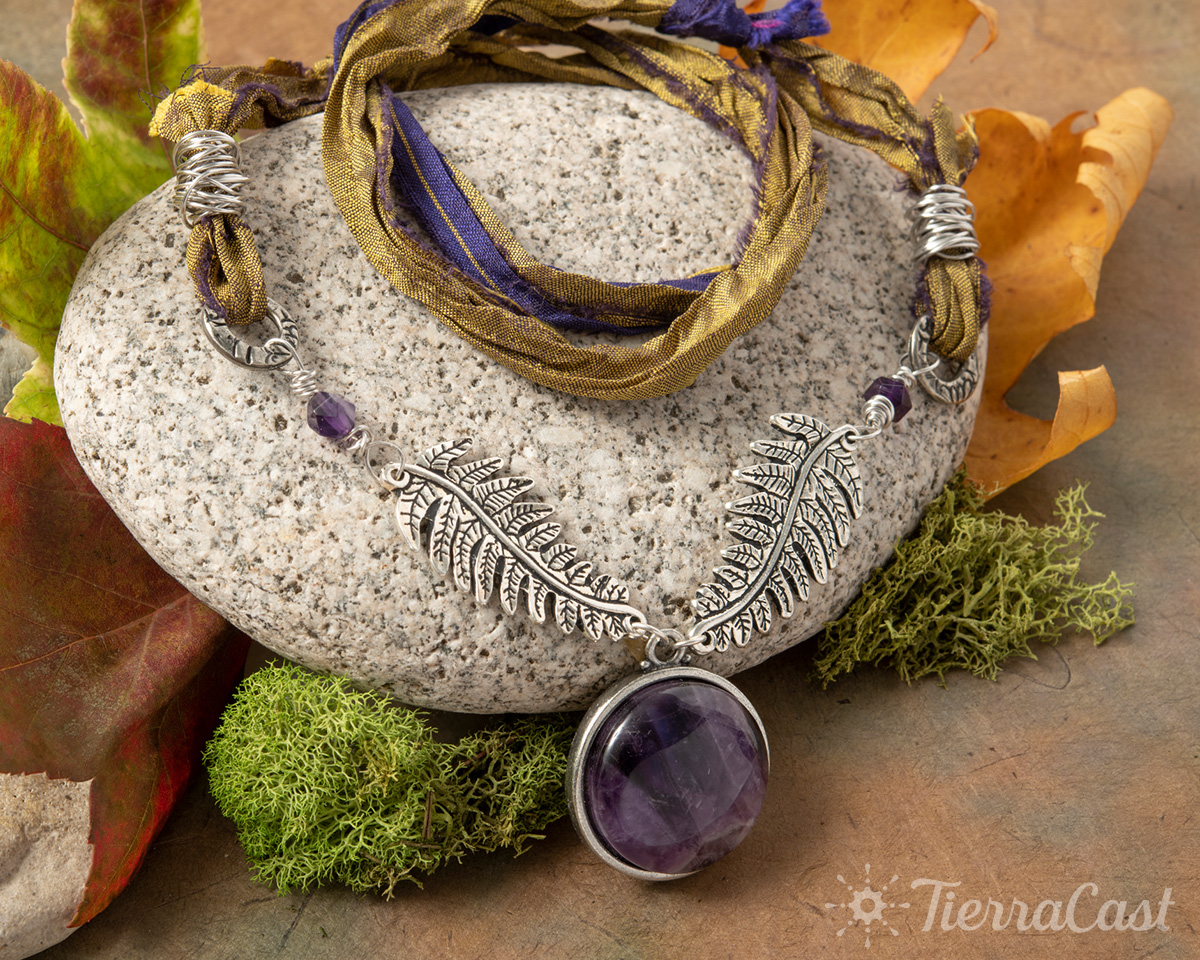
- 2 Fern Link (94-3241-12)
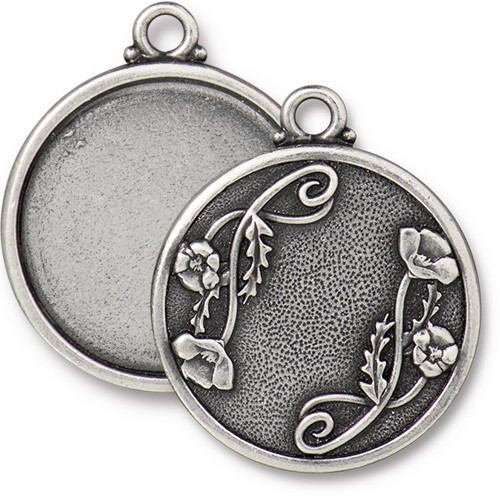
- 1 1" Poppy Bezel (94-2580-40)
- 2 Flora 1/2" Ring (94-3198-40)
- 3 Round Jump Ring 20ga 4mm ID (01-0024-01)
- 2 8mm Faceted Gemstone Beads, Amethyst
- 1 25mm Round Gemstone Cabochon, Amethyst
- 32" Sari Silk or Hand-died 5/8" Silk Ribbon (aka Fairy Ribbon)
- 22g Craft Wire, silver or pewter color
- E6000 or two-part epoxy adhesive
Tools
- chain nose pliers (2)
- round nose pliers
- wire cutters
- scissors
- ruler
Skill Level: Beginner
Finished Size: Approx. 22-32" Adjustable
Designer: Tracy Proctor
Download the Woodland Fern Necklace PDF
Watch our technique videos TierraCast Blog (look for Wrapped Loops and Jump Rings).
Tips: The Flora Rings are two-sided. Decide which side will face front when forming second wrapped loop.
Steps
- Following product instructions use adhesive to set cabochon into bezel. Set aside and allow to cure as directed.
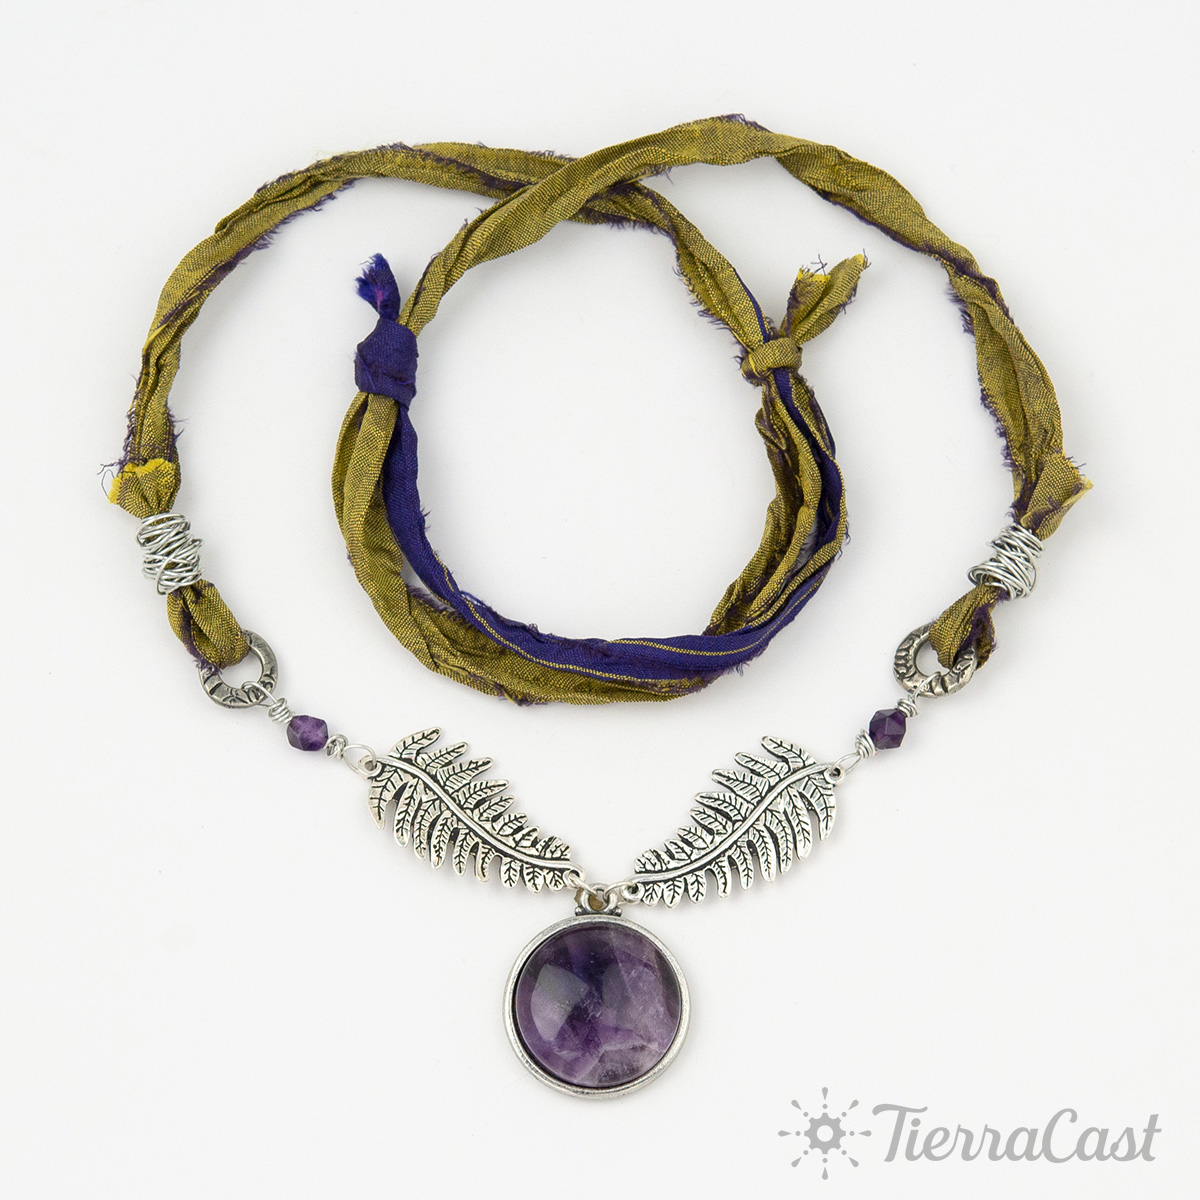
- Open 1 jump ring and attach small end of 1 fern link to bezel loop. Close jump ring. Repeat with second fern link and jump ring
- Cut two 8" pieces of craft wire.
- Pick up 1 wire and bend at right angle 3 1/2" from one end. Use round nose pliers to make a large loop next to the bend. Before wrapping slide the loop at the wide end of 1 fern link into the loop.
- Make a "messy" wrap about 1/8" long. Tuck end into the wrap or trim as desired.
- String 1 gemstone bead onto other end of wire. Repeat wrapped loop steps, adding ring to loop before wrapping.
- Repeat Steps 4-6 with second fern link.
- Cut ribbon into two equal pieces.
- Cut two 18" pieces of wire.
- Pick up a ribbon and thread end through 1 Flora ring about 1". Fold tail up to meet main strand.
- Pick up 1 piece of wire and wrap around ribbons above ring. Continue wrapping to secure, forming a large messy wrap about 1/2" long. Repeat at other side.
- Form ribbon strands into necklace loop, overlapping ends about 6”. (Fig 1)
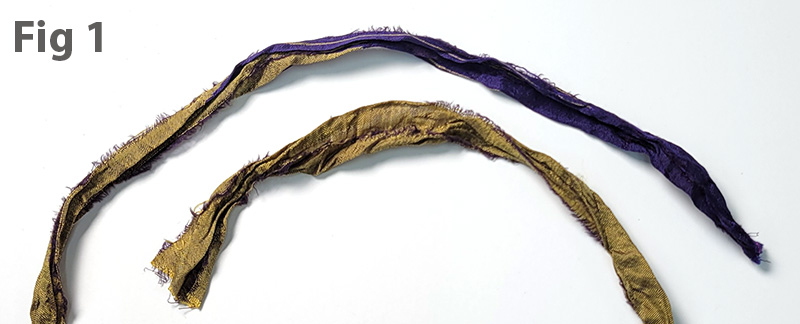
- Wrap 1 end around the other ribbon once, then tuck tail through loop to form an overhand knot. ( Fig 2)
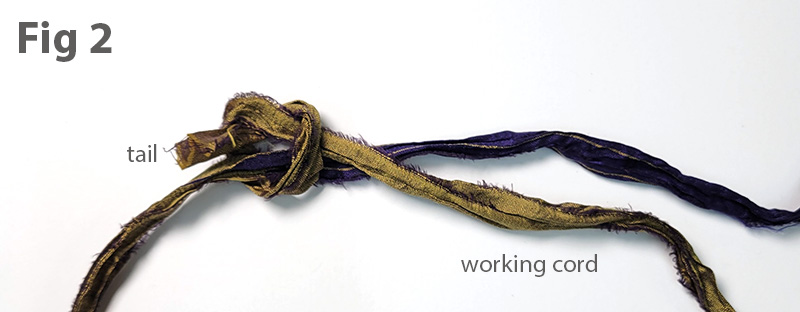
- Tighten knot, holding the tail and pulling the "working cord" to tighten, nudging knot so that it stays close to tail. Adjust knot until secure but still loose enough to slide.
- Repeat Steps 13-14 with other end to create second sliding knot.
- To loosen necklace slide knots toward each other, and to tighten slide them away from each other.

