Design Inspiration Supplies
Design Instructions

Supplies needed
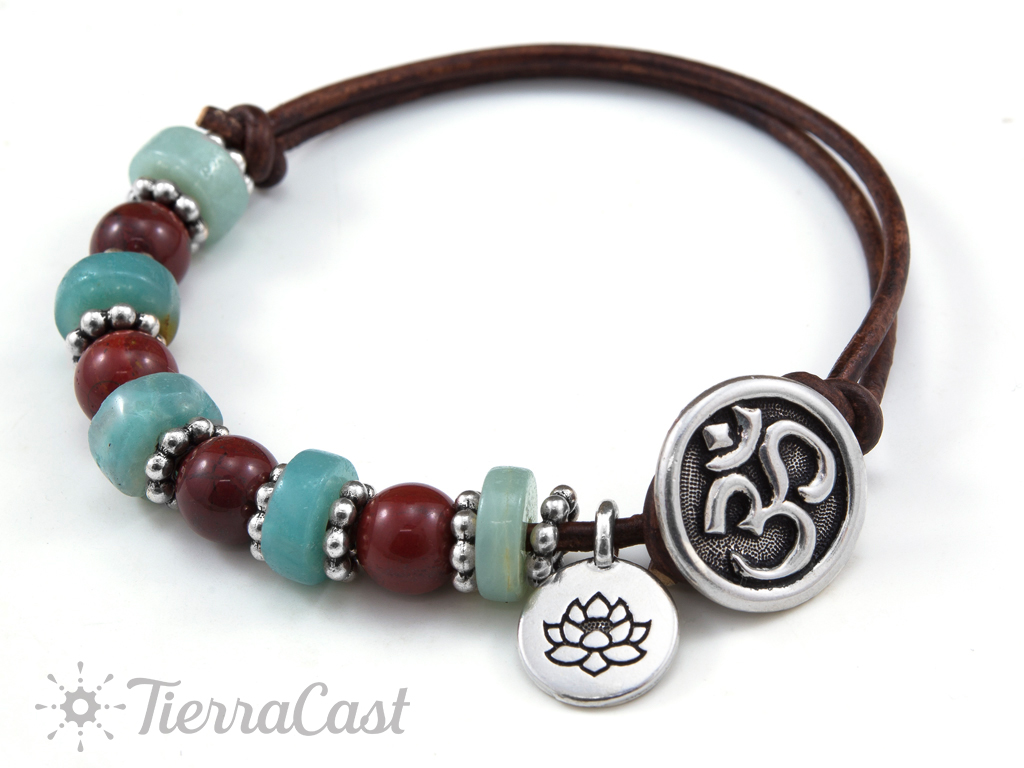
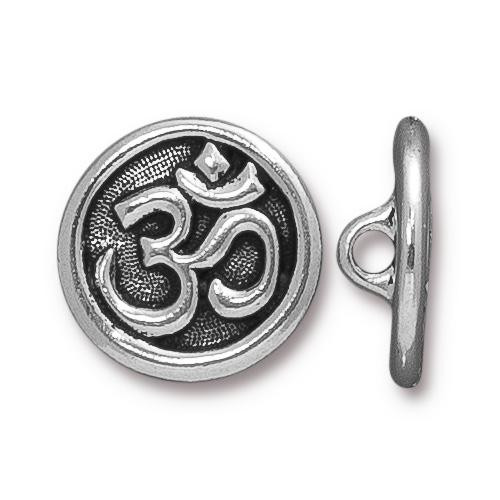
- 1 Om Button (94-6568-12)
- 10 8mm Beaded LH Spacer (94-5689-12)
- 1 Lotus Charm (94-2403-12)
- 4 8mm round gemstone beads w/ 2.5mm holes (Rainbow Jasper shown)
- 5 3.5x10mm heishi gemstone beads w/ 2.5mm holes (Amazonite shown)
- 18” 2mm Round leather cord, brown
- Super glue
Tools
- scissors
- ruler
Skill Level: Easy
Finished Size: Approx. 7-9”
Designer: Tracy Proctor
Download the Om Blossom Bracelet PDF
Watch the Demo Video: Om Blossom Bracelet Jewelry Making Demo
Tip: Add a small drop of super glue into the knots before final tightening.
Steps
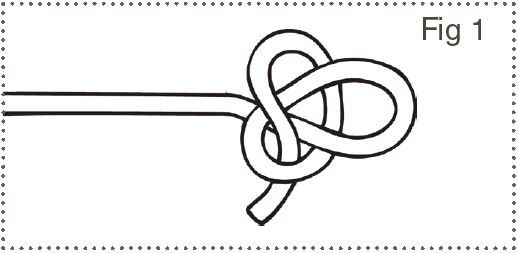
- To secure button to cord thread one end of cord through shank about 2”. Fold end over, wrap once around working cord and secure with an overhand knot. (Fig 1)

- String charm onto cord, then string *one beaded spacer and one heishi gemstone bead*. Repeat * through * with remaining beads and spacers, alternating round and heishi beads, and ending with a beaded spacer. Slide beads down to button.
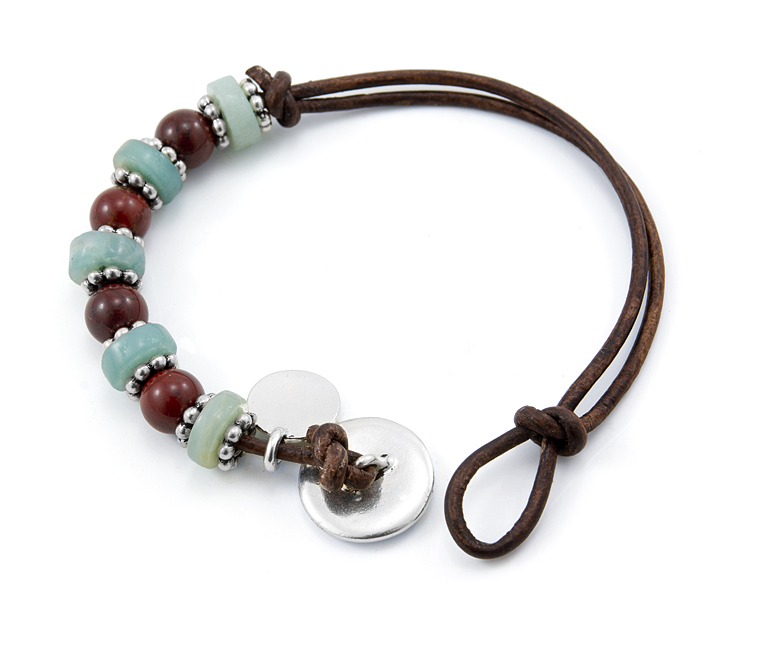
- Determine desired bracelet length. To create button loop fold cord over at desired length and secure to working cord as in Step 1, making sure loop is large enough for button to fit through.
- Extend cord end along bracelet and secure with a final overhand knot next to the beads.
- Adjust and straighten cord and knots as necessary, then add small drop of glue to each knot - including the main cords so the knots do not slide, tighten, and allow to dry.
- Trim any excess cord.


