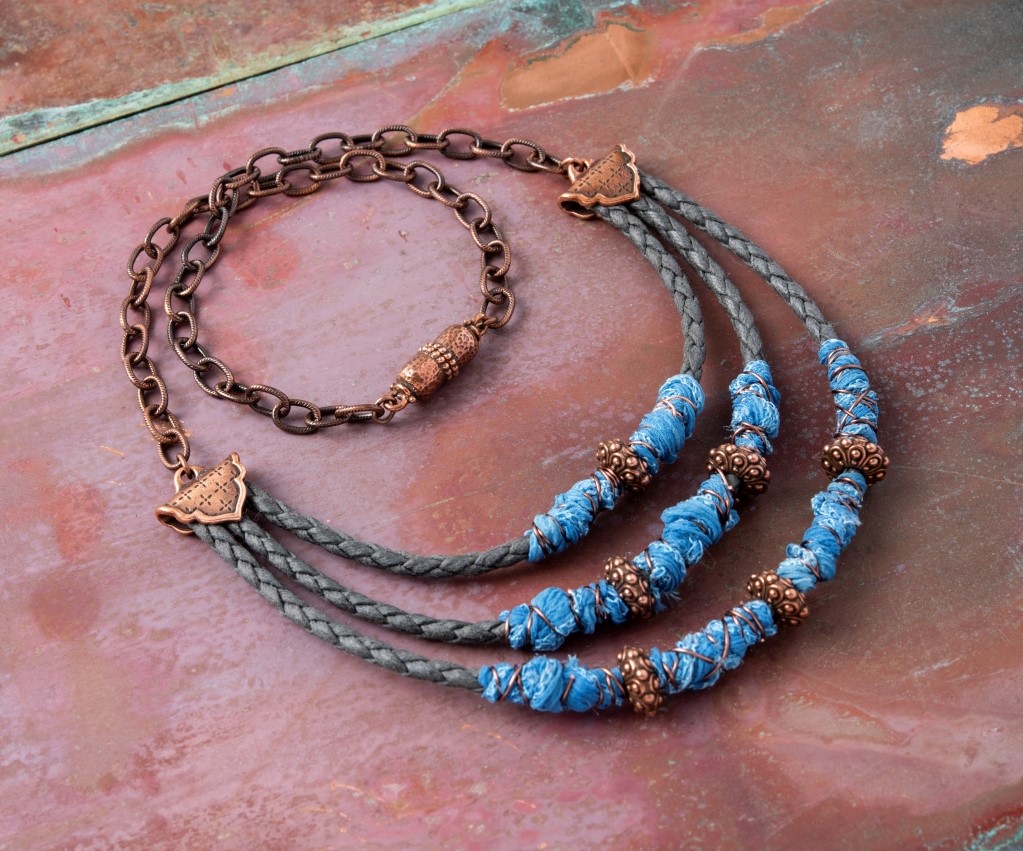
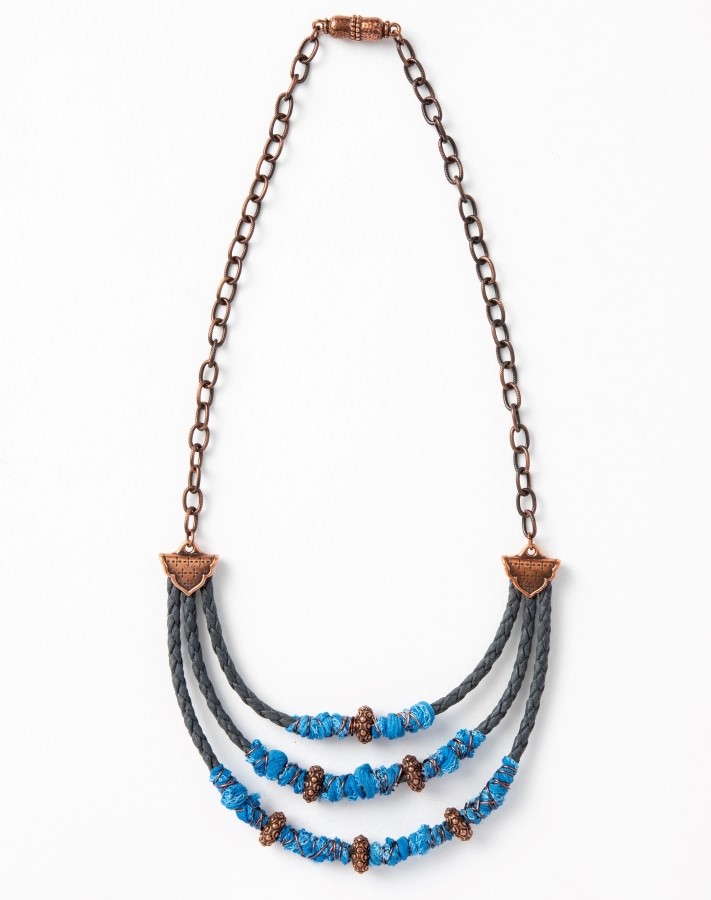
Design Inspiration Supplies
Design Instructions

Supplies needed
-
1 Palace Magnetic Clasp (94-6244-18)
- 2 Marrakesh Crimp End (94-3229-18)
- 6 Casbah Euro Bead (94-5760-18)
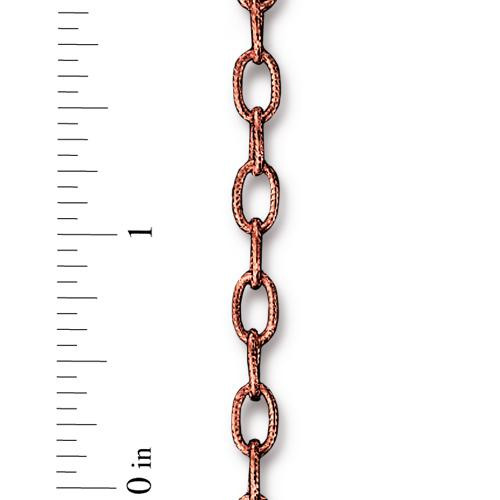
- 13” Embossed Brass Cable Chain 9x6mm (20-0325-18)
- 4 Oval Jump Ring 20ga 4x3mm (01-0018-08)
- 24" 4mm Cotton or Leather Bolo Cord
- 36" hand dyed silk ribbon
- Craft wire, 22ga copper
- E6000 Adhesive
Tools
- scissors
- ruler or measuring tape
- wire cutters
- chain nose pliers
- flat nose pliers (regular or nylon-jawed)
- toothpick or similar for applying adhesive
Skill Level: Beginner
Finished Size: Approx. 24”
Designer: Tracy Gonzales

Watch our technique videos on the TierraCast Blog (look for Jump Rings).
Tip: The silk ribbon and wire "beads" should be very organic. Don't wrap your wire too tightly, so that you can adjust lengths of the wrapped bead as desired.
Steps
- Divide chain into two equal pieces. Set aside.
- Cut ribbon into nine 4" pieces. Set aside.
- Cut nine 4" pieces of craft wire. Set aside.
- Cut 4mm cord into one 6 1/2" piece, one 8" piece and one 9 1/2" piece.
- Pick up 6 1/2" piece of cord. String on one Casbah bead and slide to center.
- Pick up one piece of ribbon and wrap it around the cord to one side of the bead, creating a wrap 3/4-1" long. Pick up one piece of craft wire and wrap it around the ribbon, starting at one side and moving along organically, overlapping and crossing the wires as desired. Leave wire ends untrimmed at this point.
- Repeat Step 6 on other side of Casbah bead.
- Pick up 8" cord. Repeat Step 6 to create a ribbon bead at center of cord.
- String one Casbah bead on one end of the cord and slide it next to ribbon bead, then repeat Step 6.
- Repeat Step 9 on other side.
- Pick up 9 1/2" cord. Repeat Steps 5-7.
- Repeat Step 9 on both sides.
- Lay all three cords on work surface, aligning them at center. Adjust length and placement of all ribbon beads and Casbah beads as desired. When finished trim wire on ribbon beads as needed and tuck cut ends down with chain nose pliers.
- Pick up one crimp end and make sure opening is widened enough for cord to fit. If necessary, use tips of chain nose plier jaws to open further.
- Apply adhesive to the inside surfaces of the crimp end. Insert the ends of the three cords at one side of the necklace. Adjust placement as desired, then use fingers or flat nose pliers to close the crimp end onto the cord ends.
- Repeat Step 15 at other side, making sure the two-sided crimp ends are facing the same direction. Allow to dry.
- Open one jump ring and attach to crimp end loop at one side of necklace. Attach end of one piece of chain then close jump ring.
- Open one jump ring and attach at other end of chain. Before closing add loop on one clasp end. Close jump ring.
- Repeat Steps 17-18 on other side.
Download the Marrakesh Necklace PDF


