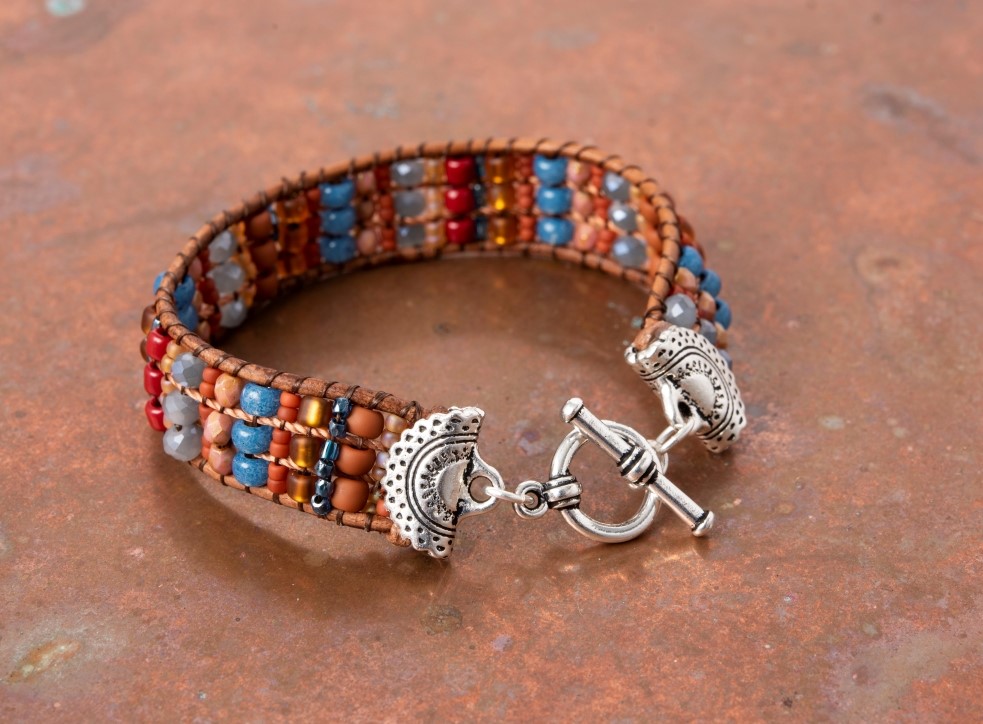
Design Inspiration Supplies
Design Instructions

Supplies needed
- 2 Crescent Crimp End (94-3228-12)
- 1 Bar & Ring Clasp Set (94-6016-12)
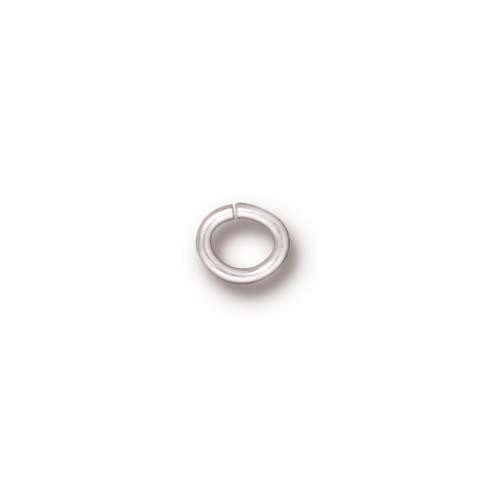
- 3 Oval Jump Ring 20ga 4x3mm (01-0018-01)
- 24" 1.5mm round leather cord for outside warps
- 1mm C-Lon or similar for inside warps
- Preferred beading thread for weft
- Size 6 seed beads, assorted colors
- 3mm and 4mm faceted Czech glass beads, assorted colors
- Size 11 seed beads, assorted colors
- E6000 or preferred adhesive
Tools
- beading loom
- beading needle
- scissors
- chain nose pliers
- flat nose pliers
- beading mat
- Tacky or Sticky beading mat (optional)
Skill Level: Intermediate
Finished Size: Approx. 7”
Designer: Tracy Proctor
Download the Crescents Loomed Bracelet PDF
Watch our technique videos on the TierraCast Blog (look for Jump Rings).
Tip: This project recommends basic looming experience.
Steps
- Prepare your beading pattern approximately 1/2" wide and 5 1/2" long. Space between warps will be about 3mm. Use two size 11 beads to equal space of one size 6 bead. (Allowing approx. 1 1/2" for clasp, add or decrease rows of beads for desired finished length.)
- Cut 1.5mm leather cord strand in half.
- Prepare your loom per product instructions for desired finished length, using the two leather cord strands as the outer warps*, and the C-Lon for two inside warps. (*Depending on your loom you may tape the ends to the loom or tie them to pegs. Experimentation may be required!)
- Prepare beading needle with 6 ft of beading thread.
- Begin adding rows of beads per loom instructions.
- Once you've reached desired length of loomed panel, remove from loom. Finish warp threads per loom instructions with the exception of the two outer cords.
- Tie a tight overhand knot in the outer cords at each corner of the panel and trim excess cord close to knot.
- Insert tips of chain nose plier jaws into one Crescent Crimp End and open just wide enough to accomodate panel.
- Apply a not-too-thick layer* of adhesive to all inside surfaces of the crimp end, then insert one end of panel. Using fingers or flat nose pliers gently close crimp end around panel. Straighten and adjust as needed and allow to dry. *To avoid excess squeezing out.
- Repeat Step 9 at other end.
- Open one jump ring and attach clasp ring to one end of bracelet. Close jump ring.
- Open one jump ring and attach to other end. Close jump ring.
- Use final jump ring to attach clasp bar to jump ring placed in Step 12.


