Design Inspiration Supplies
Design Instructions

Supplies needed
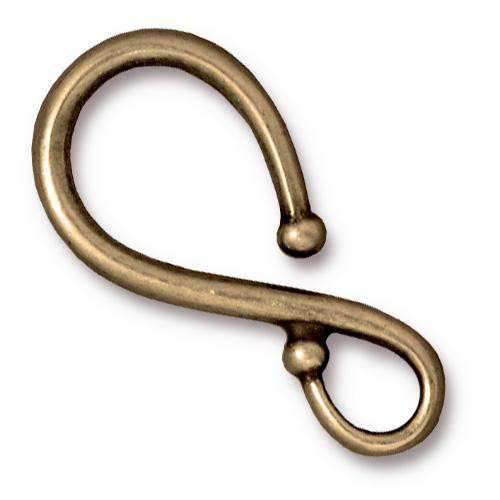
- 1 Large Classic Hook (94-6178-27)
- 2 Distressed 4x2mm Barrel Bead (94-5791-27)
- 10 Jump Ring Round 16 Gauge 5mm ID (01-0020-27)
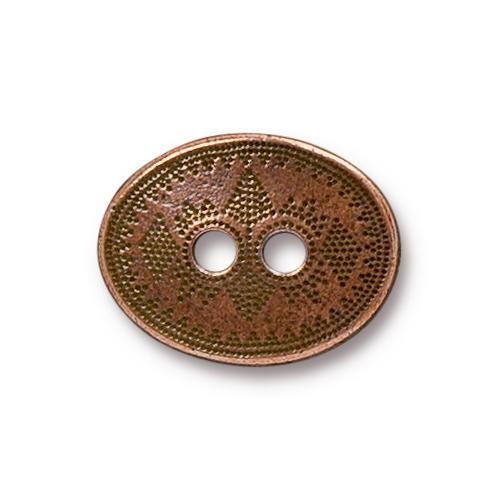
- 7 Tribal Button (94-6576-18)
- 6 Swirl Button (94-6574-27)
- 6 Distressed Oval Button (94-6575-40)
- 19 Crimp Cover 3mm (01-0032-13)
- 16" 2mm Round Leather Cord, blue or other (Leather Cord USA Esmeralda shown)
- 72" 1.5mm Round Leather Cord, dk. brown (Leather Cord USA Nat. Ant. Brown shown)
- 22ga Craft Wire, silver or gray
Tools
- scissors or leather snips
- chain nose pliers
- flat nose (regular or nylon jaw) or parallel pliers
- crimping pliers
- wire cutters
- ruler
- jewelry adhesive (optional)
Skill Level: Beginner
Finished Size: Approx. 18”
Designer: Tracy Proctor
Download the Buttoned Bib Necklace PDF
Watch our technique videos on the TierraCast Blog (look for Jump Rings and Crimping).
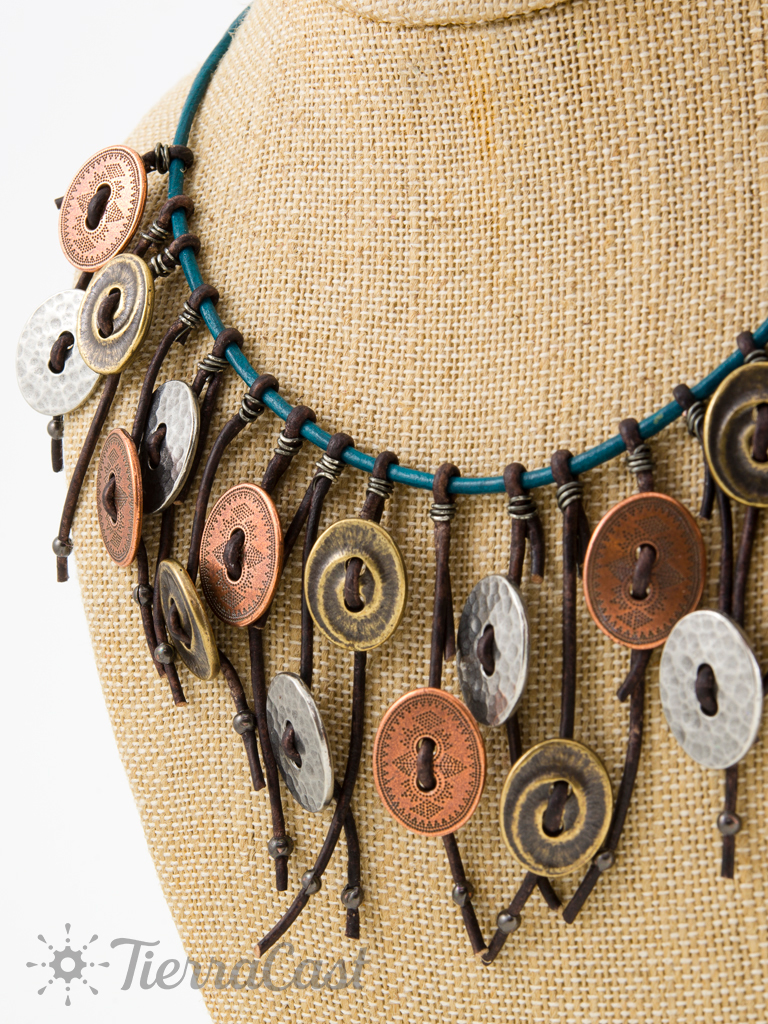
Tip: When adding the fringes, be sure your buttons are facing forward.
Steps
- Cut 16" of 2mm leather cord.
- Create the necklace: string 1 barrel bead onto one end. Pass the end back through the barrel to form a 1/4" loop. Use flat nose or parallel pliers to squeeze the barrel bead onto the cord, securing the loop. Repeat this step on the other end of the leather cord.
- Cut 19 2" pieces of craft wire. Set aside.
- Create center button dangle: cut a 3 1/2" piece of 1.5mm leather cord. Fold this cord around the necklace cord so it measures 2 1/2" on one side, 1" on the other.
- Use a 2" piece of craft wire to secure the cords together near the necklace, making 3 tight wraps. Trim the wire close to the wrap. Note: Be sure you’ve left enough space for the dangle to move freely along the necklace.
- On the longer end of the dangle, string 1 button through both holes and slide into the desired position.
- Position 1 crimp cover onto the long end of the dangle, placing it 1/4"–1/2" from the end. Use the front notch of crimping pliers to secure the cover into position.
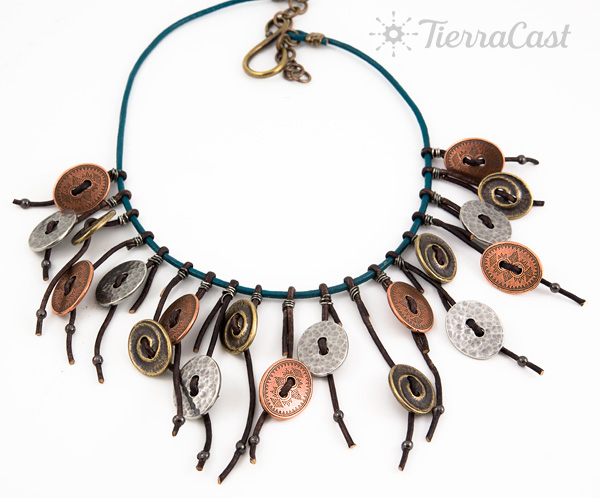
- Repeat Steps 4-7 to form nine more dangles to the right of the center dangle and nine to the left. Adjust the length of the 1.5mm leather cord so that it gets slightly shorter with each dangle (the final cord should be about 2").
- Arrange the placement of the dangles along the necklace as desired. Adjust the wire-wrapping to tighten the loops and secure the dangles in place. (Hint: use tips of chain nose plier jaws underneath wire wraps to nudge them upwards. Optional: secure the dangles in place with adhesive.)
- Use chain nose pliers to form a chain of 6 jump rings. Connect one end of the chain to one end loop of the necklace.
- Use chain nose pliers to form a chain of 4 jump rings. Connect one end of the chain to the open end-loop of the necklace. Connect the other end to the hook clasp.


