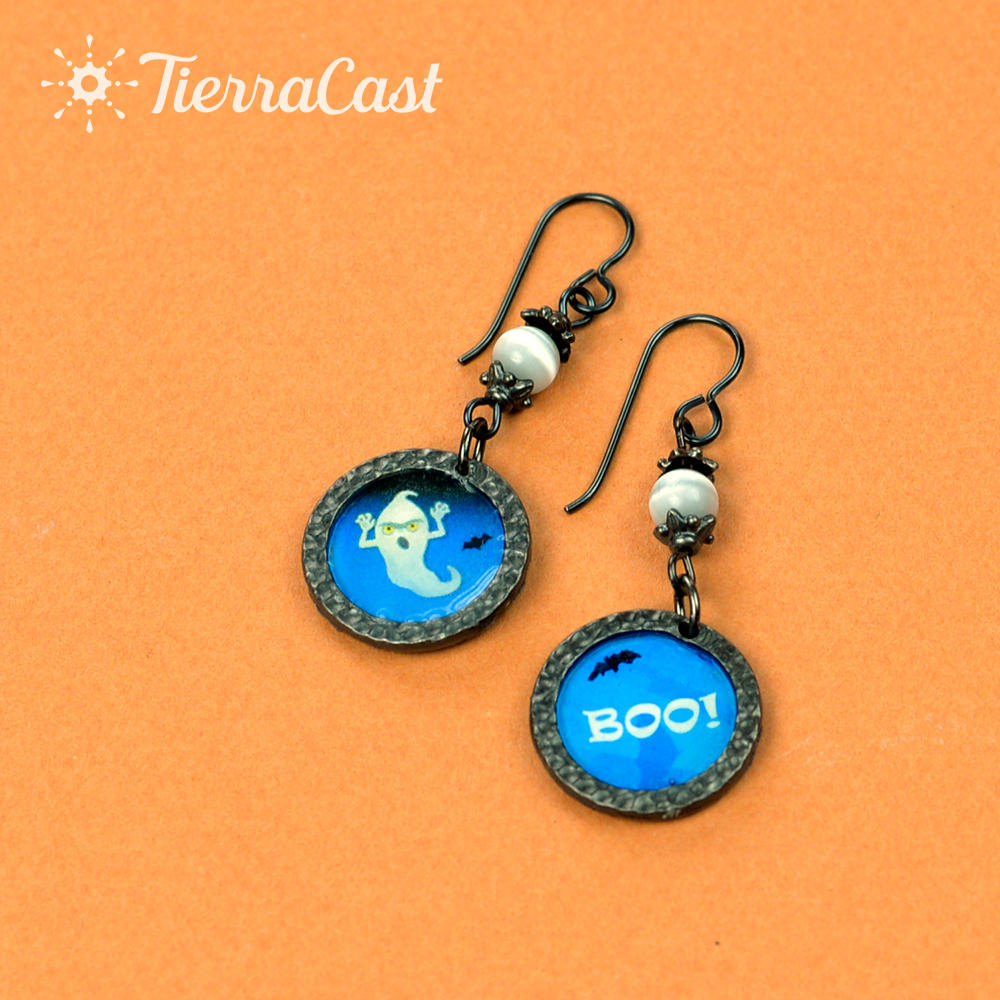
Design Inspiration Supplies
Design Instructions

Supplies needed
- 1 Hammertone 3/4" Ring (94-3087-13)
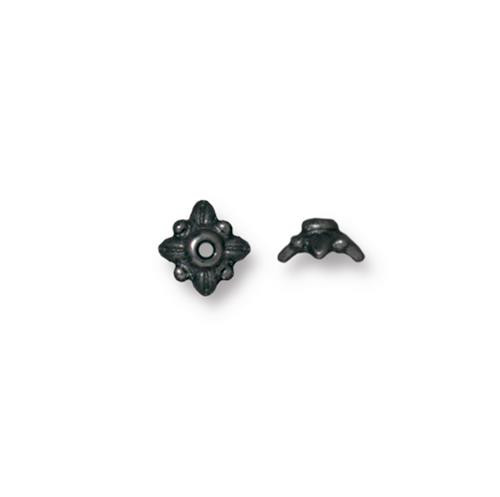
- 4 Leaf 5mm Bead Cap (94-5570-13)
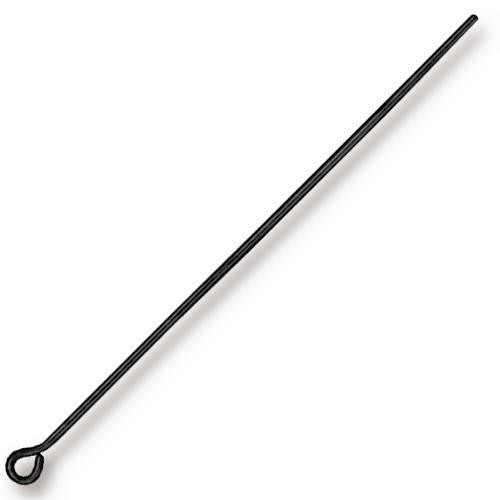
- 2 Eye Pin 2" 21ga (01-0027-13)
- 2 French Hook Ear Wire, Reg Loop (90-5179-01)
- 2 Round Jump Ring 20ga 4mm ID (01-0024-13)
- 2 Round 6mm glass or acrylic bead (grey cat's eye beads shown)
- Images printed on scrapbook or good quality printer paper
- Brush on super glue
- UV resin such as Magic-Glos
- Packing tape
Tools
- chain nose pliers
- round nose pliers
- wire cutters
- sharp nose tweezers
- UV lamp
- pencil
- scissors
- 1.25mm metal hole punching tool
- tissues or paper towels
- cotton swabs
- credit card or similar
- 5/8" round paper punch (optional)
- craft knife (optional)
- cutting mat (optional)
- thread burner or matches (optional)
Skill Level: Beginner to intermediate
Finished Size: Approx. 2"
Designer: Tracy Proctor
Download the Boo Earrings PDF
Watch the Story Rings Demo Video: Story Rings Halloween Jewelry Making Demo
Watch our technique videos on the TierraCast Blog (look for Jump Rings and Simple Loops).
Tip: Scrapbooking paper that is white on one side works great for this project.
Steps
- Select images and place into a word doc allowing some white space between images. Size to fit rings. Hint: set doc at 94% view (letter size) to help size images accurately.)
- Once images are printed use scissors to separate them with room around edges to hold onto. Place tape over front and back of images and rub down well. Hint: the edge of the credit card works well for this.
- RINGS: Place ring over image and use a sharp pencil to trace around inside edge, then use craft knife or scissors to cut out shape, cutting a little bit outside of pencil line. Optional: use 5/8" round punch to cut out image. See further instructions in Step 6b*.
- Brush a light coat of super glue around the edge of the images. Allow to dry.
- Use metal hole punching tool to make a hole in the edge of each ring. Position the tool carefully before punching, erring closer to the inside edge of the ring than the outside.
- Cut a piece of tape larger than the ring and adhere it to the back of the ring. Rub tape down as well as possible. Place ring and tape down, then position image into center. Use a cotton swab to smooth down.
6b.*If a 5/8" punch was used the image will be slightly larger than the ring opening. In this case skip the tape - instead use a pencil to make a small tick mark on the back of the image at the top (for aligning with hole in ring). Brush super glue directly onto the back of the ring, then use sharp nose tweezers to position image face down onto the glue. Use back of tweezers to press edges down onto ring. Allow to dry. Skip Step 7. - Brush super glue around inside edge of ring. Allow to dry.
- Apply uv resin to desired depth. Allow to self level for several minutes. Add additional resin if desired. Use sharp nose tweezers to scoop out any bubbles that appear. (Optional: hold a thread burner or lit match over bubbles to pop them.)
- Slide credit card underneath ring assembly and place into uv lamp. Allow to cure for 15-20 minutes.
- Once cured remove from lamp and carefully peel tape from back. If resin leaked under tape it can be peeled away if the resin is still slightly soft, or trimmed away with a craft knife if more cured. (Be careful not to scrape plating from ring.) If resin is still soft on the back side after removing tape place into lamp upside down for a few more minutes. It may be necessary to re-open the punched hole.
- BEAD LINKS: Pick up one eye pin and string on one bead cap, one bead, and second bead cap. Bend wire at right angle above second bead cap, trim to approx. 3/8" and use round nose pliers to form simple loop. Repeat with second eye pin, bead and bead caps.
- FINISH: Open one jump ring and attach at top of one ring. Before closing attach one bead link. Close jump ring. Open loop of one ear wire and attach at other end of bead link. Close loop. Repeat for second earring.


