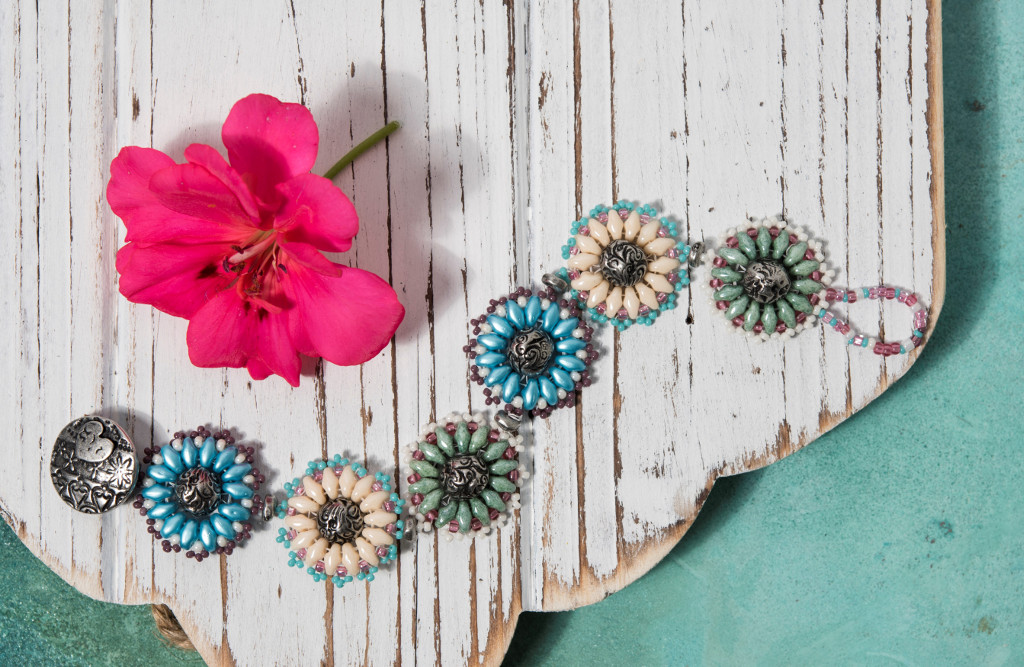
Design Inspiration Supplies
Design Instructions

Supplies needed
- 1 Amor Round Button (94-6581-40)
- 6 8mm Jardin Bead (94-5810-40)
- 7 5mm Nugget Spacer Bead (93-0435-40)
- 84 Super Duo beads, 3x5mm
- 2g Size 11 seed beads
- 1g Size 14 seed beads
- Fireline or Wildfire beading thread
Tools
- scissors or thread cutters
- beading needle
Skill Level: Intermediate
Finished Size: Approx. 7”
Designer: Tracy Gonzales
Download the Amor Beaded Bracelet PDF
Tip: Check your Super Duos to make sure both of the holes on each are open.
Steps
- Use 3' of thread to string 14 Super Duos (inner holes) leaving a 4" tail. Tie a knot with the working and tail thread to form a tight circle of beads.
- String 1 Jardin 8mm bead; pass back through the seventh Super Duo (inner hole) on the other side of the ring and back through the next 6 Super Duos (inner holes). Pass through the Jardin bead and the eighth Super Duo (inner hole); continue through the next 6 Super Duos. Make sure the Jardin bead is seated evenly in the center of the ring.
- Pass through the first Super Duo (outer hole). String 1 size 11° seed bead and pass through the next Super Duo (outer hole); repeat thirteen times. Exit through the first size 11° seed bead added.
- String 3 size 14° seed beads and pass through the last size 11° seed bead exited and the next Super Duo (outer hole) to form a picot; repeat thirteen times. Exit from the second size 14° seed bead added. Don’t trim the working thread. Set the beaded flower aside.
- Repeat Steps 1–4 five times.
- Use the working thread of 1 flower to string 2 heishi and the button; pass back through the 2 heishi and through the last size 14° seed bead exited. Repeat the thread path several times to reinforce; secure the thread and trim.
- Use the working thread of another flower to string 1 heishi; pass through the second size 14° seed bead of the picot opposite the button. Pass back through the heishi just added and through the original size 14° seed bead. Repeat the thread path several times to reinforce; secure the thread and trim.
- Use the working thread of another flower to string 1 heishi; pass through the second size 14° seed bead of the picot opposite the connection just placed. Pass back through the heishi just added and through the original size 14° seed bead. Repeat the thread path several times to reinforce; secure the thread and trim.
- Repeat Step 8 three times to connect all of the flowers.
- For the button loop start a new 8" thread that exits from the first size 14° seed bead of the picot opposite the final connection placed.
- String a mixture of seed beads that measures about 2". Form a loop and test for fit. Adjust the number of beads as necessary.
- Pass through the third size 14° seed bead of the picot just exited. Repeat the thread path of the loop several times to reinforce. Secure the thread and trim.

