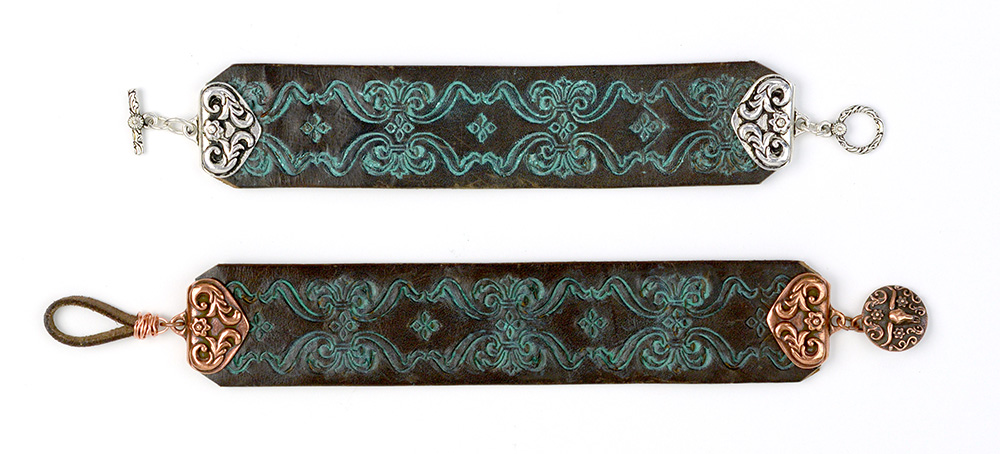
Design Inspiration Supplies
Design Instructions
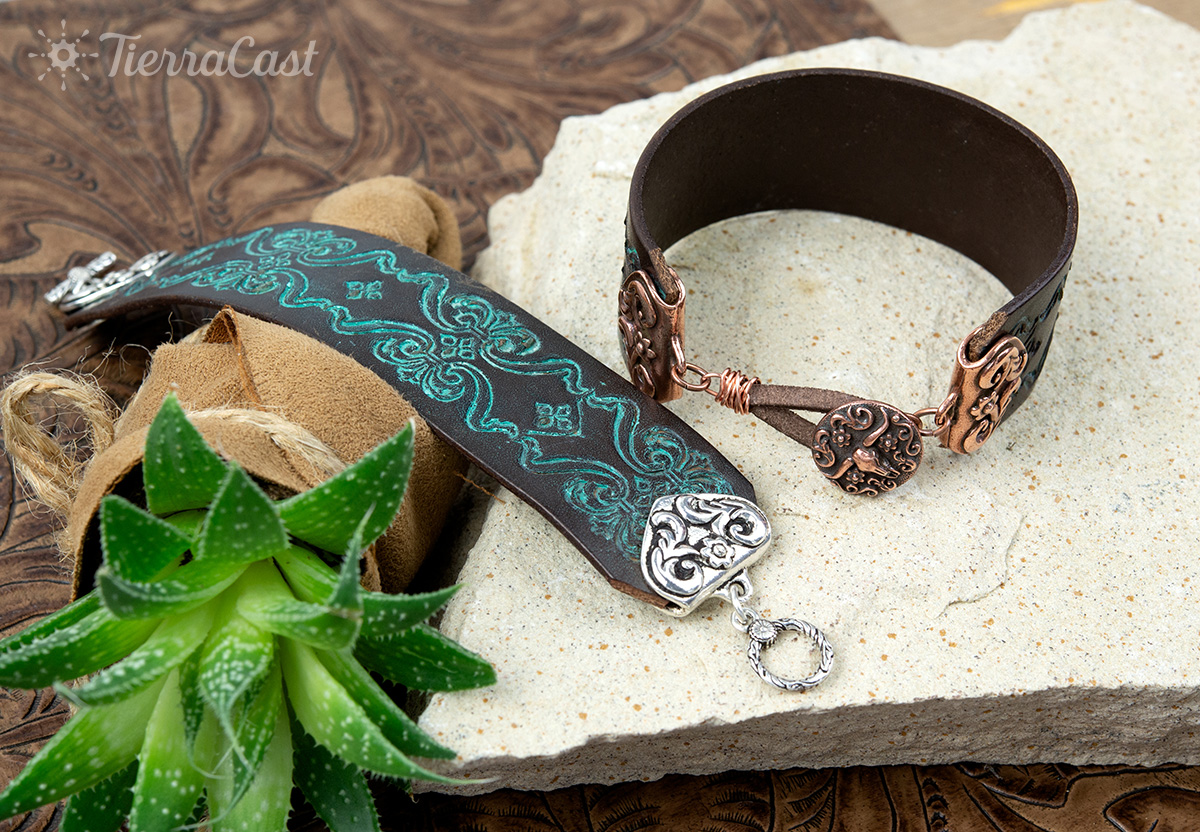
Supplies needed
Silver version:
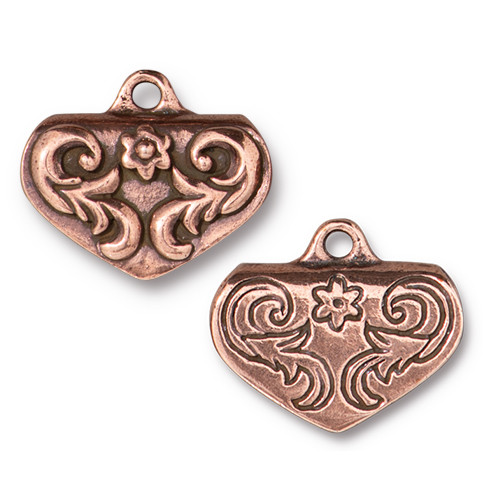
- 2 Scrollwork Crimp End (94-3238-12)
- 1 Western Clasp Set (94-6258-12)
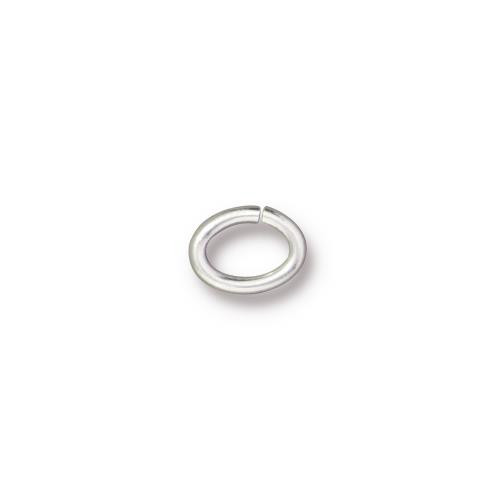
- 2 Oval Jump Ring 17ga 5x3.5mm (01-0019-01)
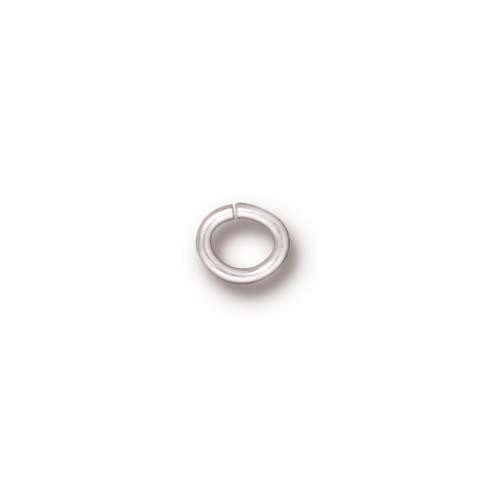
- 1 Oval Jump Ring 20ga 4x3mm (01-0018-01)
Copper version:
- 2 Scrollwork Crimp End (94-3238-18)
- 1 Longhorn Button (94-6608-18)
- 4 Oval Jump Ring 20ga 4x3mm (01-0018-18)
- 3mm suede lace, brown
- 22ga craft wire, copper
For both:
- 1-1 1/2" wide leather belt with tooled design
- Acrylic leather paint or preferred craft color
Tools
- chain nose pliers (2)
- flat nose, nylon jaw or parallel pliers
- round nose pliers
- wire cutters
- craft or exacto knife
- metal ruler
- cutting mat
- pencil or pen
- cotton swabs or paint brush
- paper towels or rag
- beading awl or push pin
- E6000 adhesive (optional)
Skill Level: Beginner
Finished Size: Varies
Designer: Tracy Proctor
Download the Scrollwork Leather Bracelets PDF
Watch the Demo Video: Scrollwork Leather Bracelets Jewelry Making Demo
Variations from the live demo
Top to bottom - upcycled tooled leather belt with Vintaj's Ultimate Paint, repurposed blank leather cuff sponge painted with Jaquard's Lumier leather paint, 10mm leather strap colored with Gilders Paste.

Watch our technique videos TierraCast Blog (look for Jump Rings).
Learn more about our Crimp Ends here.
Tips: Use a scrap piece of the belt to practice painting on. Work in small sections, applying paint into tooling and wiping excess paint off quickly with damp paper towels. Practice until you get desired results.
Steps
- Determine desired length of bracelet, allowing approximately 1 1/4" for toggle finish, and 2" for button finish. (Example: for a 7" finished bracelet with toggle clasp cut a 5 3/4" piece of strap. For the button finish cut a 5" piece of strap.)
- Use metal ruler and craft knife to cut desired length of leather.
- On back side of strap use pen or pencil to make marks at both edges 1/4" from each end.
- Place one crimp end (don't crimp yet) over one end of bracelet and center on strap. On back side draw a line from top edge of crimp down to 1/4" mark. Repeat on other side. Remove crimp end and use ruler and knife to cut corners as marked. Repeat at other end.
- Paint leather tooling as desired and allow to dry.
- Place one crimp end over one end of strap. Use flat nose, nylon jaw, or parallel pliers to crimp component until secure. Tip: crimp from several positions, including from loop side of component. Optional: for added security apply a small amount of adhesive to center of inner surfaces of components before placing and crimping. Repeat at other end.
- Toggle Clasp: Use one large oval jump ring to attach clasp ring at one end of bracelet. Use one large and one smaller oval jump ring to attach clasp bar at other end.
- Button: Attach 3 jump rings at one end of bracelet, adding button to final jump ring before closing.
- Button Loop: Cut one 2 1/4" piece of suede lace. Use awl or push pin to make a hole 1/8" from each end.
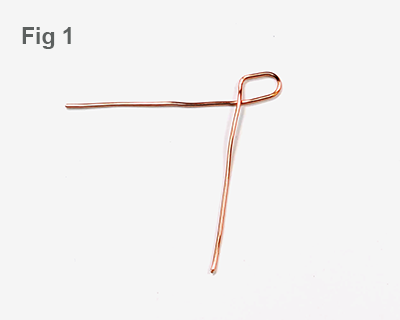
- Cut a 3-4" piece of craft wire. Place round nose pliers at center and fold wire in half, then bend one end of wire across other end about 1/4" from curve. (Fig 1)
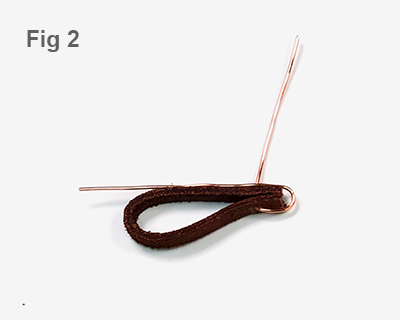
- Fold suede lace in half and thread both ends onto bent wire, tucking ends inside loop. (Fig 2)
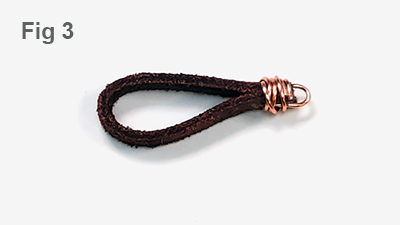
- Wrap bent wire end around lace tightly 3-4 times. Trim as needed, then wrap other wire end as desired. Trim end then use chain nose pliers to tuck both wire ends in as needed. (Fig 3)
- Use oval jump ring to attach button loop at other end of bracelet.
