Design Inspiration Supplies
Design Instructions

Supplies needed
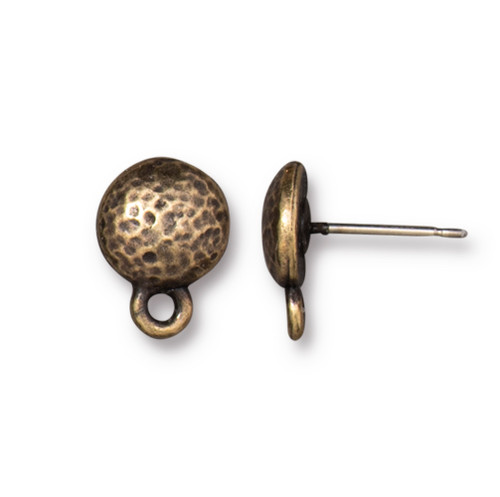
- 2 Hammertone 9mm Round Post (94-1084-27)
- 2 Hammertone 18mm Stitch-around Hoop (94-2563-27)
- 3” Embossed Cable Chain 2.5mm (20-1525-27)
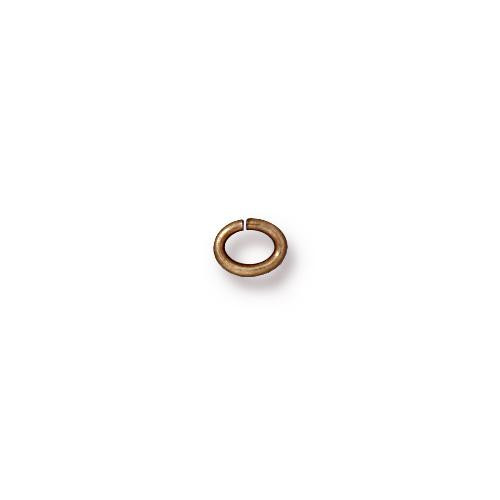
- 4 Oval Jump Ring 20 Gauge 3x2mm ID (01-0016-27)
- 2 10mm large hole freshwater pearls
- Size 11 round seed beads
- Fireline or preferred beading thread
- Optional: 2 Eye Pins, 21 gauge 2" (01-0027-27)
Tools
- thread cutter
- beading needle
- chain and/or flat nose pliers
- beading mat
- optional: thread burner
Skill Level: Beginner
Finished Size: Approx. 3”
Designer: Tracy Proctor

Download the Mod Brickstitch Pearl Earrings PDF
Watch the Demo Video: Mod Brickstitch Earrings
Watch our technique videos on the TierraCast Blog (look for Jump Rings and Simple Loops).
Tip: If your 10mm beads don't have large enough holes to fit over the chain, see Optional Steps 9a-13a.
Steps
1. Thread a needle with 25 to 30 inches of Fireline or beading thread. Leaving a 4” tail, tie an overhand, double knot onto the 18mm Hoop component. Situate your knot close to the built-in bead at the top. (Fig 1)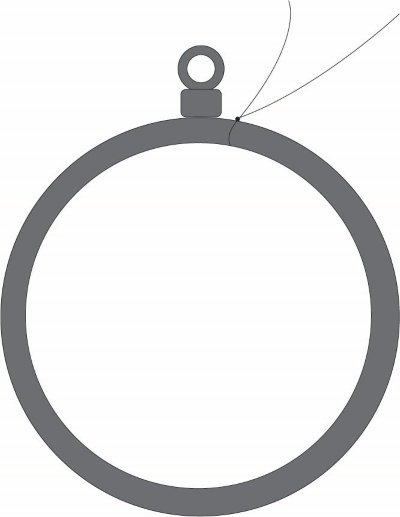
Fig 1
2. Pick up two size 11/0 seed beads and bring the beads down along the thread snug against the loop. Bring the 4” tail thread up through the first seed bead. Pull the working thread and the tail apart and the knot will hide in the seed bead. (Fig 2)
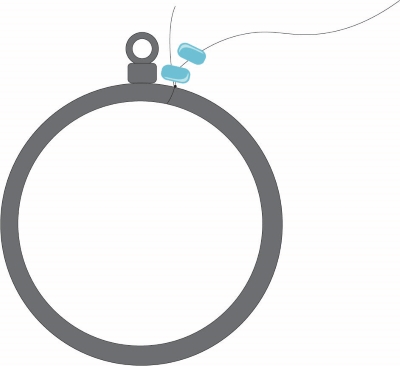
Fig 2
3. With the seed beads resting on top of the hoop component, bring the needle around the hoop component and back up though the second seed bead added in Step 2. Pull tight. Both beads will now sit on top of the component. (Fig 3)
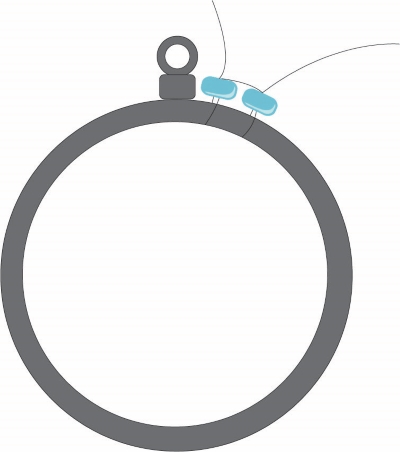
Fig 3
4. Pick up one size 11/0 seed bead. Bring your needle around the component and back up through the bead. Pull tight. This bead will now sit snug next to the others. (Figs 4 & 5)
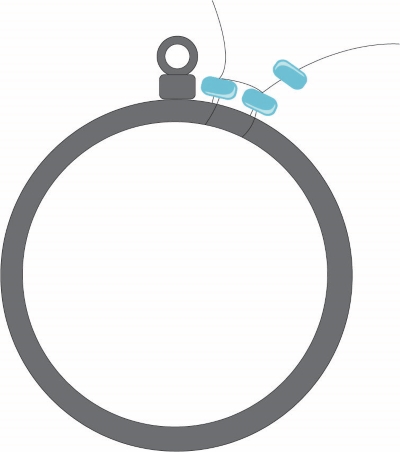
Fig 4
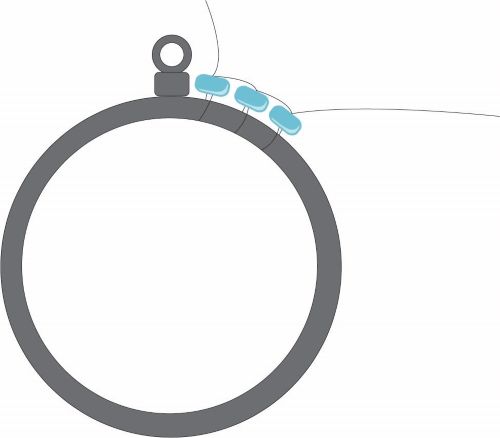
Fig 5
5. Repeat Step 4, 25 times.(Fig 6)
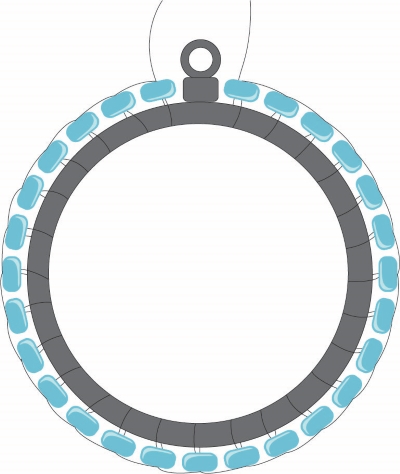
Fig 6
6. Weaving in working thread: After adding the last bead, bring your needle back through the second-to-last bead added in Step 4. Loop around the component, pass needle beneath the thread below the same bead and make a half-hitch knot, then come back up through the bead. Repeat this once more with the bead next to it.
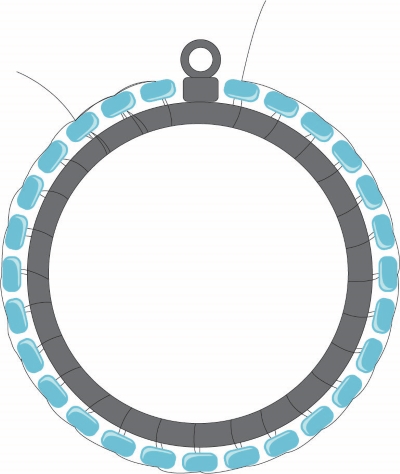
Fig 7
7. Weaving in the tail thread. Using the tail thread, sew down into the next bead, loop around the component, and then come back up through the same bead.

Fig 8
8. Snip or Thread Burn the tail and remaining working threads. Repeat Steps 1 through 8 to create a second stitched hoop.
9. Cut chain into two 1 1/2" pieces.
10. Open one jump ring and attach it to loop at top of one hoop. Before closing jump ring attach one piece of chain. Close jump ring.
11. String one pearl onto chain and move it to desired position. (hint: if helpful, thread a short piece of scrap wire through the end link of the chain and use it to pull chain through bead.)
12. Open one jump ring and attach to other end of chain. Before closing attach loop of earring post. Close jump ring.
13. Repeat Steps 10-12 for second earring.
Optional Steps: If your chain is too big for the bead hole replace Steps 9-12 with the following steps -
9a. Cut four sections of 5 links of chain.
10a. Open the eye of a 21-gauge eye pin and loop one of the chain links onto it. Close loop.
11a. Bring the eye pin through the large hole pearl bead. Place the end link of a second section of chain onto the top of the eye pin, where it exits from the large-hole pearl bead. Form a Simple Loop (see TIP above)
12a. Next open a small, oval jump ring and attach the top loop of the 18mm hoop component to the bottom link of the chain attached to the bottom of the pearl bead.
13a. Open a small, oval jump ring and attach to the top link of the chain on top of the pearl bead. Attach to the loop of the earring post. Repeat steps 9a through 13a for the second earring.

