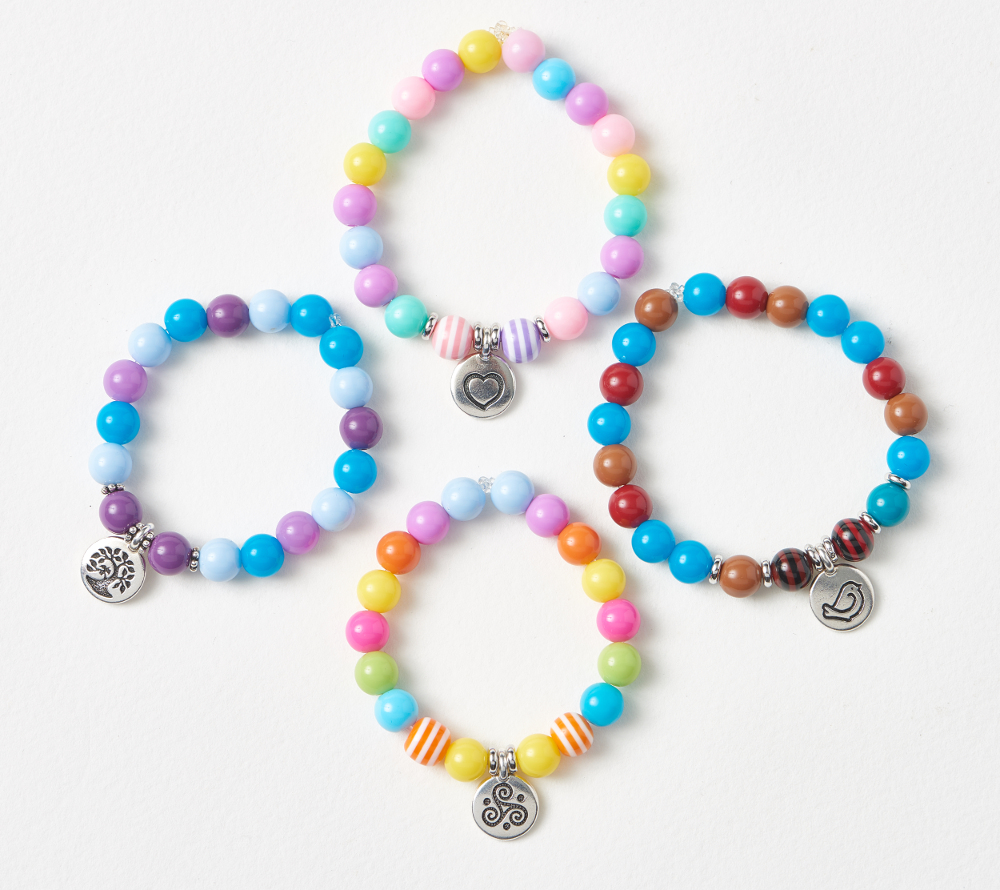
Design Inspiration Supplies
Design Instructions

Supplies needed
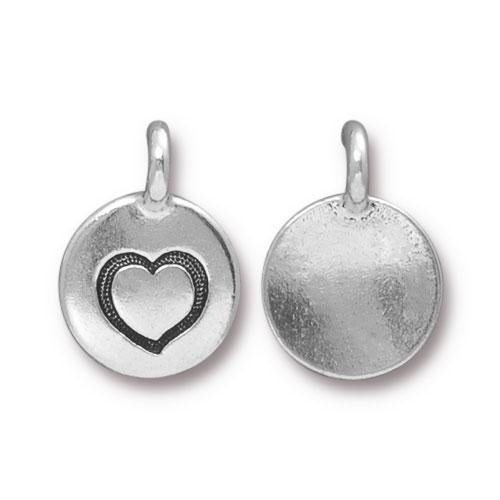
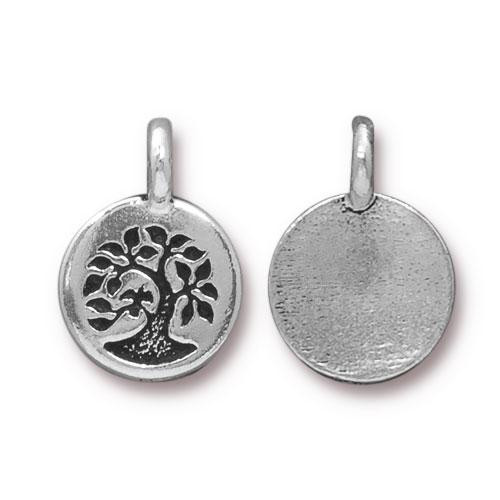
- 1 Opposed Loop Symbol Charm 94-2454-12 (Tree), 2421-12 (Heart), 2422-12 (Fat Bird), 2508-12 (Triple Spiral), 2525-12 (North Star), or 2420-12 (Paw)
- 2-6 Spacer Beads 93-0421-12 (5mm Beaded) or 93-0441-70 (5mm Disk)
- 18-24 8mm Round Acrylic Beads
- 1mm Stretch cord
- Clear nail polish
Tools
- scissors
- measuring tape or ruler
Skill Level: Beginner
Finished Size: Approx. 5-6"
Designer: Tracy Proctor
Read the blog post about our Sonoma County Boys & Girls Clubs jewelry making visits here - After School Jewelry Making
Tips - Some helpful tips for setting up this kids' project:
- Provide a small piece of fabric or a bead mat as a work surface to keep beads from escaping.
- Do provide a sample bracelet for reference.
- Provide one set of supplies per four makers.
- Do have an adult help with sizing and tying the knot.
Steps
- Cut one 12” piece of stretch cord.
- Pre-stretch cord by pulling from both ends several times.
- Choose one charm, 20 acrylic beads, and 2-6 spacer beads.
- String charm onto cord and move to center.
- Encouraging maker(s) to keep cord and beads flat on work surface as much as possible, begin adding spacers and round beads on both sides of charm, alternating beads and spacers for the first few, then adding only round beads.
- Continue adding round beads until there are 10 on each side of charm.
- Check for size: have child place wrist over beaded strand, then carefully pick up ends and wrap around wrist. Add or subtract beads as necessary so that the beads meet when the strand is not too loose and not too tight on wrist.
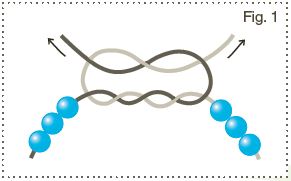
- Secure cord ends with surgeon’s knot. (Fig.1) Tighten securely, pulling cords from all directions to make sure knot does not come loose.
- Apply small amount of nail polish to knot. Allow to dry.
- Trim cord ends.

Download the Colorful Stretch Bracelets PDF


